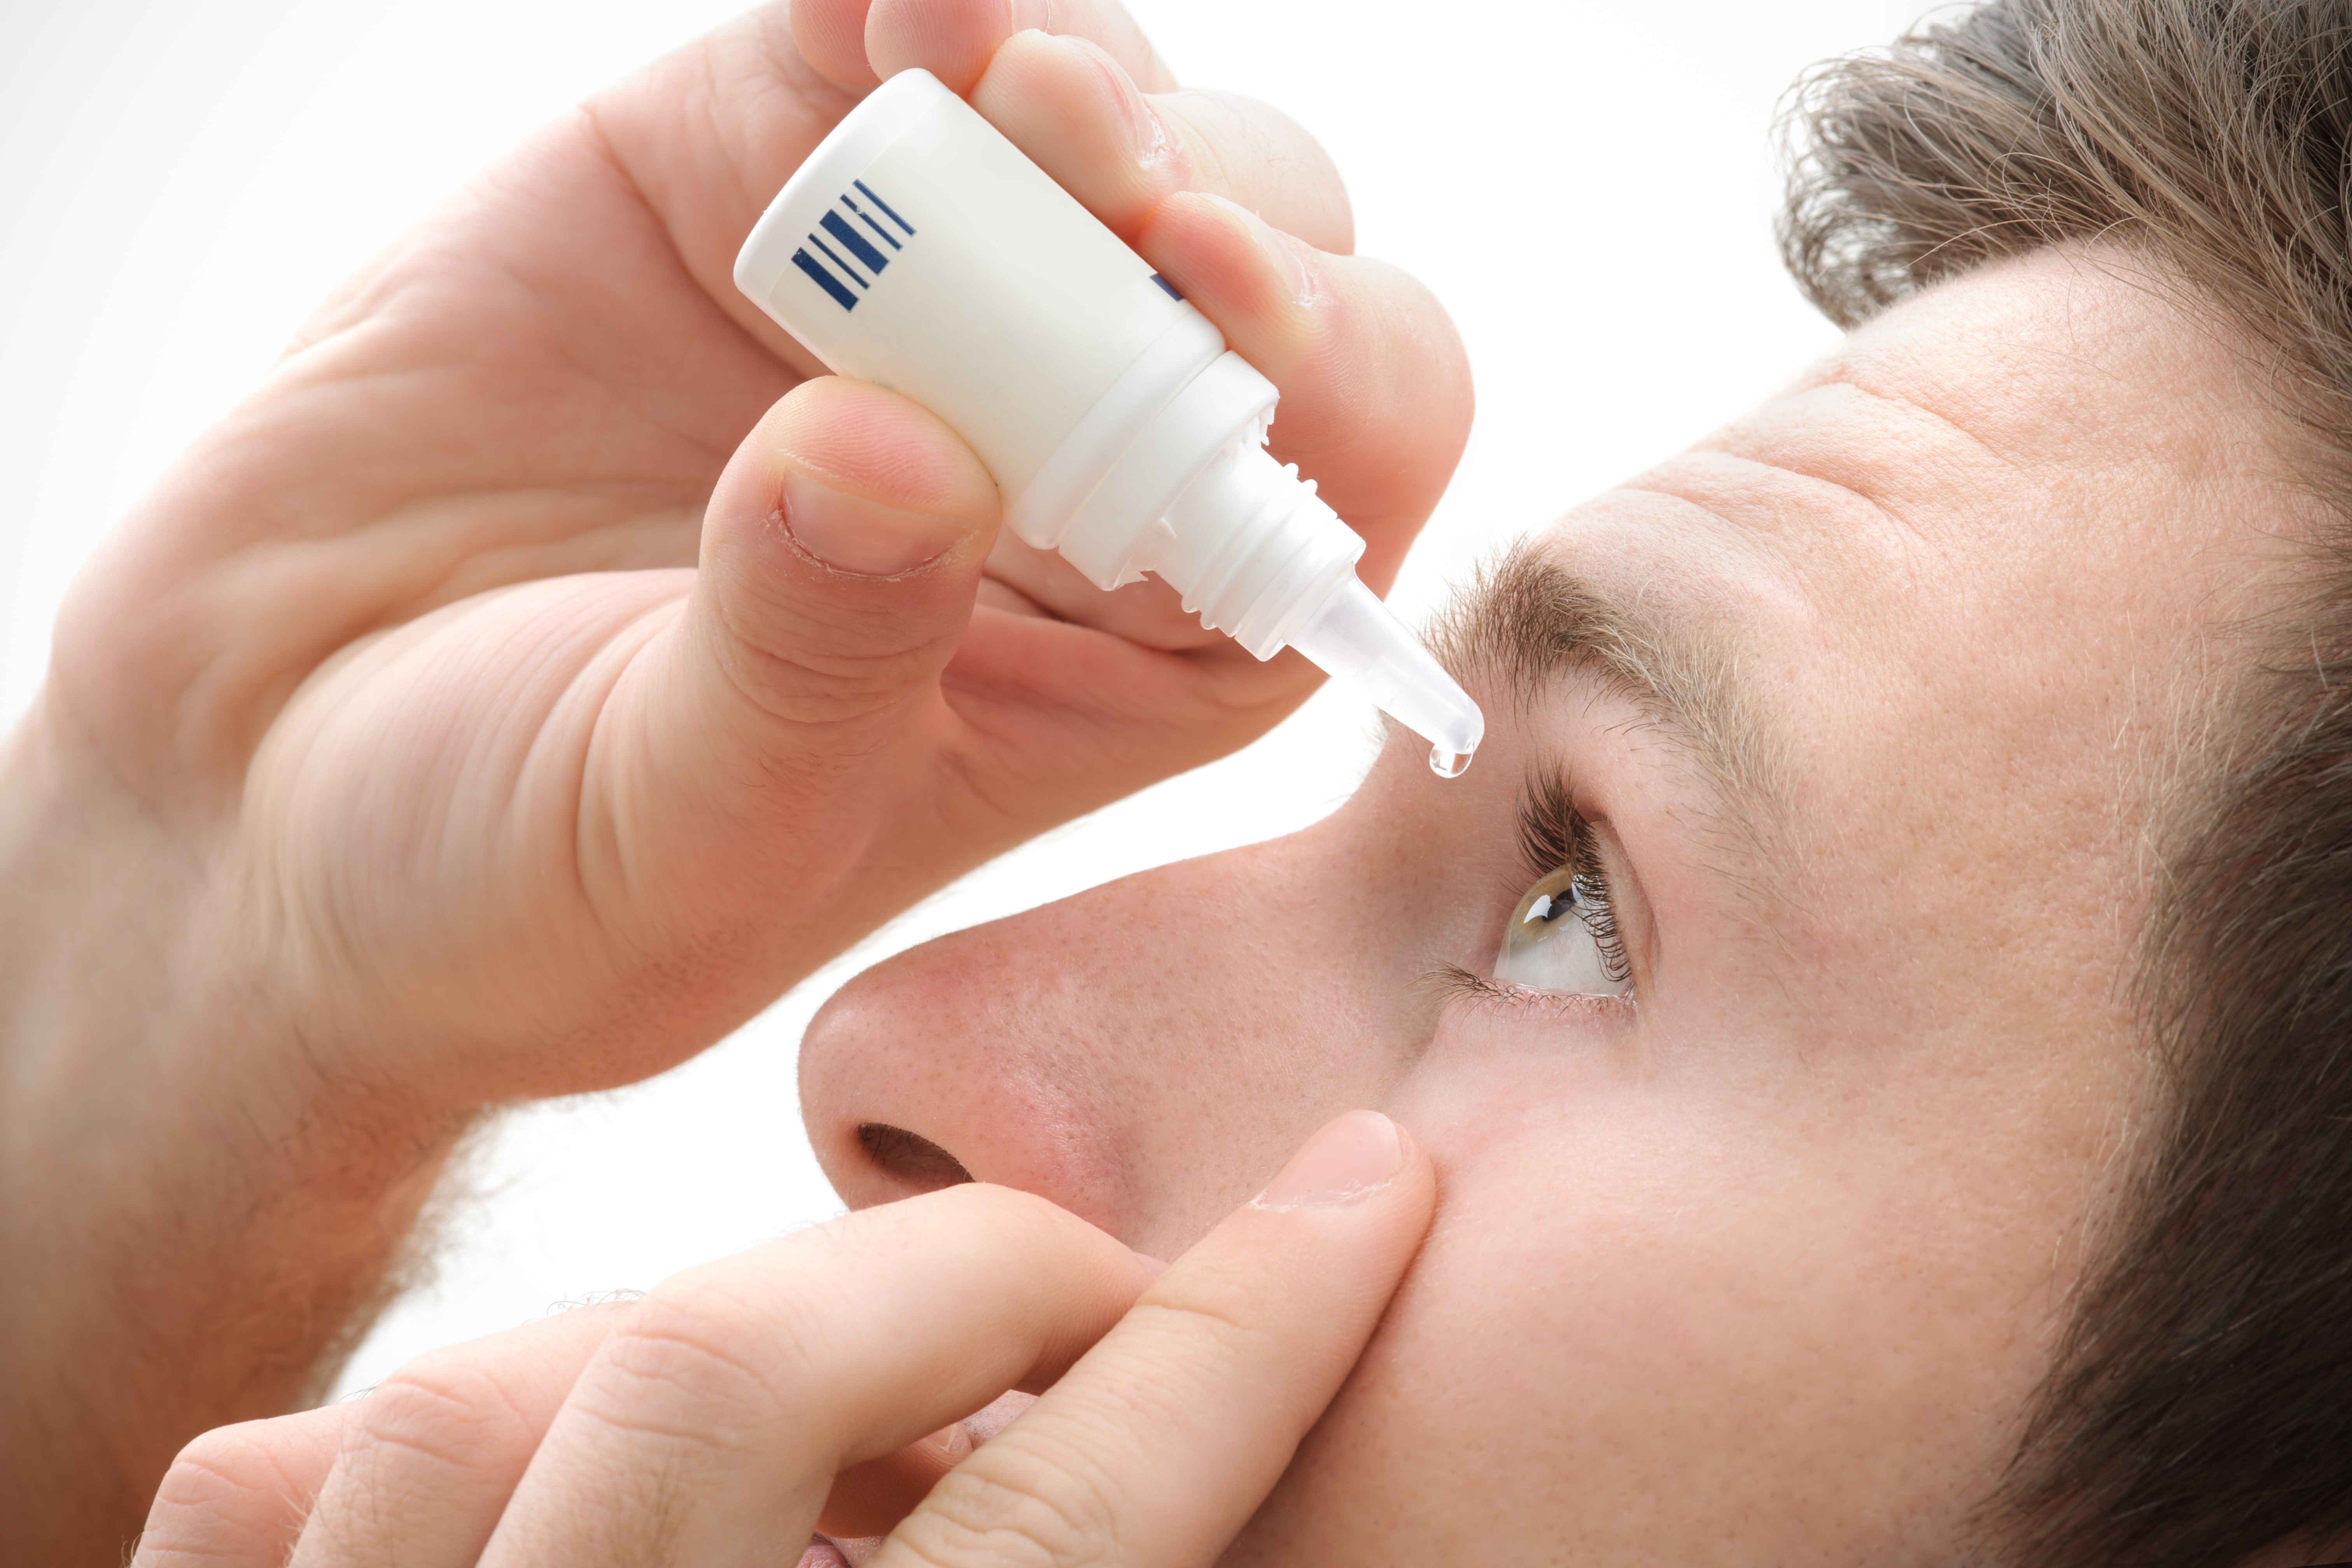
Seven Steps to Putting Drops in Your Eyes the Right Way

Eye drops are helpful to a range of different eye problems from dry eyes to glaucoma. While eye drops can be an important part of treatment, if not administered correctly they can cause unnecessary irritation or discomfort. Depending on the treatment type, you may need to use eye drops regularly or for a short time. No matter what the time period is for using eye drops, it is important to use them correctly to minimize discomfort and maximize their efficiency. Listed below are seven steps to putting drops into your eyes the right way.
Step #1: Wash Your Hands
An important step in administering eye drops is to make sure your hands are clean to avoid spreading external bacteria to your eyes. On a daily basis, our hands touch many things that may be contaminated with various types of bacteria. It is important to remove this bacteria before accidently allowing into your eyes. To accomplish this, simply wash your hands with soap and warm water, then dry using a clean towel.
Step #2: Preparing the Materials
If you wear contact lens, they must first be removed before inserting the eye drops. There are exceptions such as the doctor instructing you to administer drops with contacts or in the case you are using specially formulated drops to remoisten contacts. Before removing the lid from the bottle, you may or may not need to shake the bottle according to the instructions. After removing the lid from the eye drop bottle, check the dropper to make sure it has no chips or cracks that may affect the flow of the liquid. It is very important to not touch the dropper with your finger tips.
Step #3: Preparing Your Eyes
Next, you will want to prepare your eyes for the drops to be administered. To do this, tilt your head back and use your index finger to gently pull down on the lower eyelid. This will create a pocket that the eye drop can fall into. Using this method will help make sure the eye drops remain in your eye.
Step #4: Positioning the Dropper
To help ensure the drops remain in your eye, you will also want to position the dropper a certain way. You want to hold the bottle over your eye with the dropper facing down. The tip of the dropper should be as close to your eye as possible without actually touching the surface of your eye. To support the bottle, it may be helpful to rest your hand on your forehead. This will avoid the bottle slipping or drops from going places other than your eye.
Step #5: Administering the Drops
When you administer the drops, you must be looking up. To help with this, try focusing on something above you, like a point on the ceiling. It may also be helpful to lie down. To administer the drops, gently squeeze the dropper, allowing one drop to fall into your eye. Once the drop has made contact with your eye, remove your index finger from your lower eyelid.
Step #6: Letting them Sit
After the drops have been administered, it is important to let them sit for at least 2-3 minutes. To accomplish this, simply close your eyes and tip your head downwards. Don’t blink or squint during this time period.
Step #7: Finishing Up
Once the drops are in and have sat, simply replace the cap on the bottle and wash any remaining medication off your hands.

Dr. Paul D. Trapeni JrAt The Optical Shoppe, we're dedicated to optometry excellence under the guidance of Dr. Paul D Trapeni. Serving the Smyrna community since 1989, Dr. Trapeni is a trusted member of the community, bringing general and specialized optometry care to individuals and families throughout the area.


